Windows updates in general, not just Windows 11, are installed on millions of devices with varying hardware configurations. Therefore, Microsoft's good intentions sometimes lead to problems for users when undetected bugs appear during testing.
In some cases, Microsoft will revoke the update. But often, users have to handle the problem themselves by manually uninstalling it. It sounds complicated, but actually, removing a Windows update is relatively simple, and even those who aren't tech-savvy can do it at home.
Instructions on how to uninstall Windows 11 updates
The method for revoking updates depends on the version of Windows you are using. Early versions of Windows 11 allowed users to uninstall updates through the Control Panel, while newer versions require the process through the Settings app.
It's also worth noting that some updates cannot be uninstalled; for example, on Surface devices, users cannot uninstall drivers or update the BIOS from the Settings.
To check your Windows 11 version and build, press the following key combination: Win (Windows icon) + R, then enter the command winver and press Enter on the keyboard.
For Windows 11 21H2 (build 22000), here's how to uninstall the update:
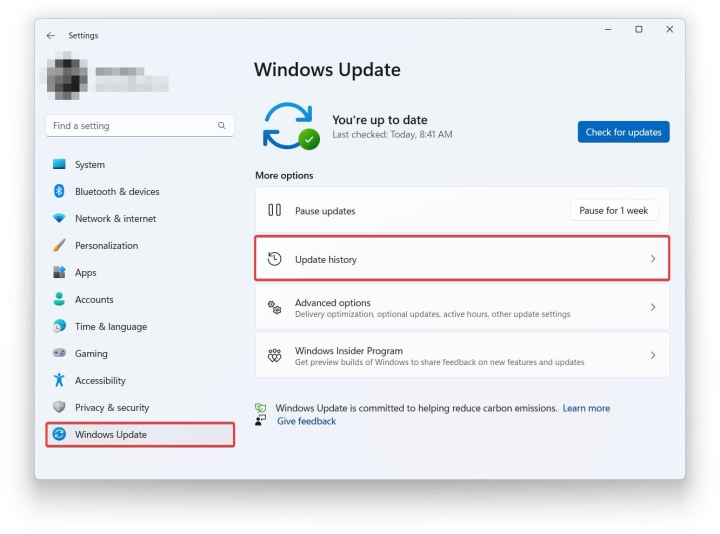
1. Open the application Settings > Windows Update > Update History.

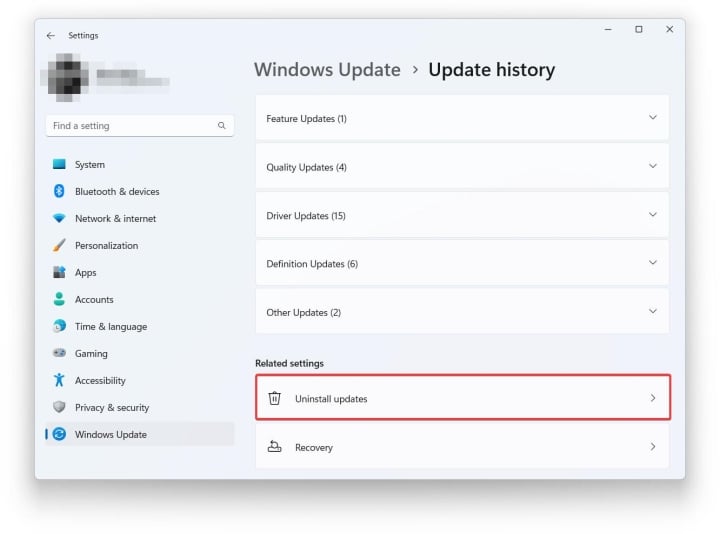
2. Find and select the section Uninstall updateAfter pressing, the window frame appears. Control Panel The familiar area will be opened.

3. Select the Windows update you want to uninstall, then press Enter. Uninstall.

4. A window will appear to verify the uninstallation command; agree to begin the process and wait for the operating system to complete the rest. After processing is complete, the user needs to restart the device to ensure all operations are finished.
Remember to save any unfinished tasks and close all open applications before restarting your device.
How to uninstall Windows 11 version 22H2 and later updates
Windows 11 versions from 22H2 onwards will require intervention through the Settings app, not through the Control Panel as mentioned above.
The procedure is as follows:
1. Press the key combination Win + I or open the application directly Settings.
2. From the interface Settings, following the path Windows Update > Update History.
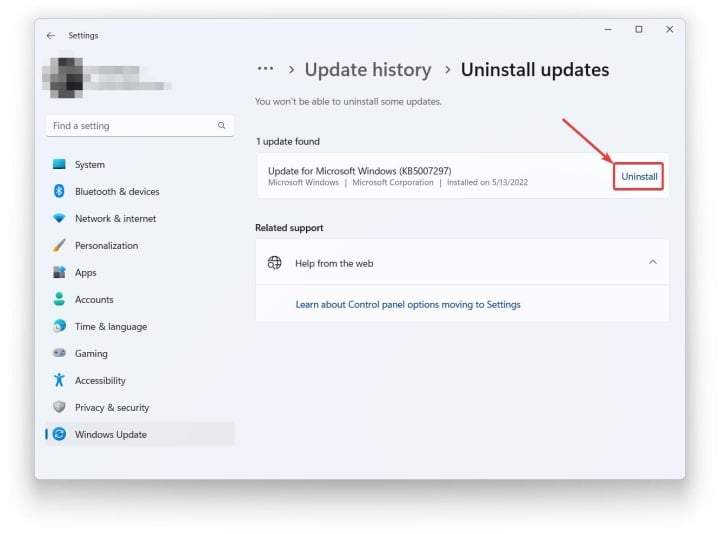
3. Select the item Unsintall updates.
4. The system will display the latest updates and you can uninstall them. Click here. Uninstall In the top right corner, it corresponds to the version that needs to be removed from the machine.
5. Continue to verify the deletion request by pressing Uninstall It appeared once again from the small window.
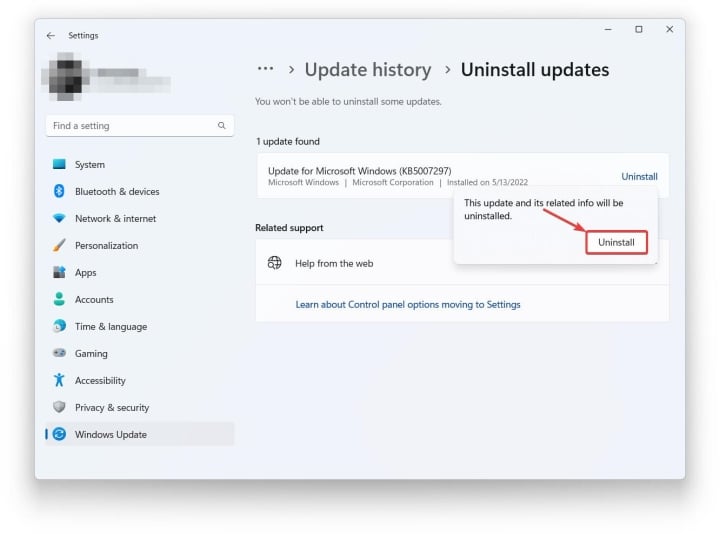
6. Wait for Windows to automatically uninstall the update. Then restart your computer.
At this point, the Windows 11 uninstallation process is complete, and users can use their computers normally, avoiding any unexpected errors caused by the upgrade.